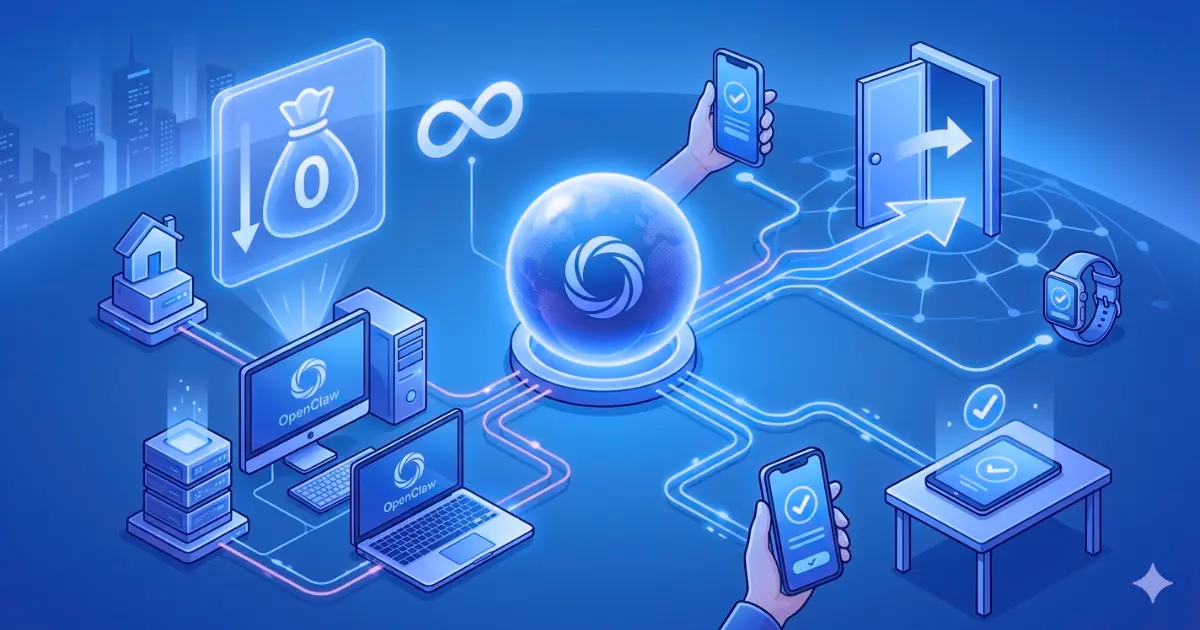
Continuing from the previous chapter, we have already installed OpenClaw with zero token consumption on the local computer. What’s the next step? To give OpenClaw a bigger stage to display its talents, we will build an exclusive “secret channel” (frp + Nginx) to achieve public network access. Yes, through intranet penetration and reverse proxy, we will create an “AI command center” that truly belongs to you, can be used and left, and has no hidden consumption.
Next, we will build this secret passage leading to OpenClaw step by step.
1. Architecture blueprint
This is the architecture we are about to build. You can picture it in your mind after just one look:
Public network request process
│
├─【User Device】📱 HTTPS request
│ │
│ ▼
├─【VPS Cloud Server】☁️
│ ├─ Nginx :443 → Handle HTTPS + domain name binding
│ ├─ Frps :7000 → Receive tunnel connection
│ │
│ ▼ (Public network tunnel)
│
├─【Home computer】🏠
│ ├─ Frpc (Docker) → Frps that actively connects to VPS
│ │
│ ▼ (local 127.0.0.1:3001)
│ │
│ └─ OpenClaw Zero Token (Docker) → AI core service
│
└─Response back to the original route ✅
2. Hands-on practice
Make sure you have:
- Local computer: Docker, Docker compose and OpenClaw Zero Token have been installed (make sure port 3001 is accessible).
- VPS (cloud server): a server with a public IP address (Ubuntu/Debian/CentOS is acceptable).
- A domain name: and resolve to your VPS public IP address (for example: ai.yourdomain.com).
1. Public network “transit station” – configure VPS frps
This is a key link to connect the inside and outside. Here we first deploy frps (penetration server). Installation using docker compose is the simplest way. You can pull up the server with one click, listen to port 7000 and wait for OpenClaw to connect.
(1) Create project directory and configuration file
# Create a new directory on the VPS
mkdir -p ~/docker-frps && cd ~/docker-frps
(2) Create the frps configuration file.
cat > frps.toml <<EOF
# Server-side Basic Configuration
bindPort = 7000

# HTTP/HTTPS Virtual Host Port
vhostHTTPPort = 8080
vhostHTTPSPort = 8443

# Authentication Configuration
auth.token = "your-token"

# Dashboard Configuration
webServer.addr = "0.0.0.0"
webServer.port = 7500
webServer.user = "admin"
webServer.password = "your-password"

# Log Configuration
log.level = "info"
log.maxDays = 3
EOF
(3) Start the service
# Start
docker compose up -d

# Check log
docker compose logs -f

# Check running status
docker compose ps
2. The Public Network “Outpost” — Configuring Nginx on a VPS
This serves as the first stop for all external access, acting as the gateway, as well as the security guardian and gatekeeper.
(1) If Nginx is not installed on your VPS, you can refer to the tutorial on installing Nginx using Docker Compose.
(2) Configure Nginx for reverse proxying and HTTPS encryption. The objective is to have Nginx handle the HTTPS encryption requests on our behalf, and then forward the traffic to the frp tunnel via `localhost:7000`, whereupon `frps` immediately relays the traffic to `frpc`. We will add the following content to the Nginx configuration file:
# ai.yourdomain.com

server {
    listen 443 ssl http2;
    server_name ai.yourdomain.com;

    ssl_certificate_cache max=2;
    acme_certificate letsencrypt key=rsa;
    ssl_certificate $acme_certificate;
    ssl_certificate_key $acme_certificate_key;
    ssl_protocols TLSv1.2 TLSv1.3;
    ssl_ciphers ECDHE-ECDSA-AES128-GCM-SHA256:ECDHE-RSA-AES128-GCM-SHA256:ECDHE-ECDSA-AES256-GCM-SHA384:ECDHE-RSA-AES256-GCM-SHA384:ECDHE-ECDSA-CHACHA20-POLY1305:ECDHE-RSA-CHACHA20-POLY1305:DHE-RSA-AES128-GCM-SHA256:DHE-RSA-AES256-GCM-SHA384;
    ssl_prefer_server_ciphers off;

    # Basic proxy settings
    proxy_set_header Host $host;
    proxy_set_header X-Real-IP $remote_addr;
    proxy_set_header X-Forwarded-For $proxy_add_x_forwarded_for;
    proxy_set_header X-Forwarded-Proto $scheme;
    proxy_set_header X-Forwarded-Host $host;

    # WebSocket support
    proxy_http_version 1.1;
    proxy_set_header Upgrade $http_upgrade;
    proxy_set_header Connection "upgrade";

    # Timeout settings
    proxy_connect_timeout 60s;
    proxy_send_timeout 60s;
    proxy_read_timeout 60s;

    # Cache settings
    proxy_buffering off;
    proxy_cache off;

    location / {
        proxy_pass http://docker-frps:8080;
    }

    # Health check
    location /health {
        proxy_pass $forward_scheme://$server:$port/health;
        access_log off;
    }
}
Enable Configuration and Restart:
docker restart docker-nginx
(3) Remember to configure your VPS firewall (Security Groups) to allow incoming traffic on ports 7000 (TCP), 80, and 443.
(4) Although traffic is already encrypted via Nginx and frp, it is recommended to add an additional layer of Nginx Basic Auth (username and password protection) to the OpenClaw frontend. This helps prevent search engine crawlers from brute-forcing your “AI Command Center”—especially given the recent cautionary tale involving nearly 280,000 exposed instances—and is a security measure that Nginx can implement with ease.
3. The OpenClaw — Configuring frpc on the Local Computer
Here, we simply need to launch frpc (the FRP client) and instruct it to connect to the VPS.
(1) Create the project directory and configuration file.
# Create a new directory on your local computer.
mkdir -p ~/docker-frpc && cd ~/docker-frpc
# Create docker-compose.yml
cat > docker-compose.yml <<EOF
version: '3.8'

services:
  frpc:
    image: snowdreamtech/frpc:latest
    container_name: docker-frpc
    restart: always
    network_mode: host
    volumes:
      - ./frpc.toml:/etc/frp/frpc.toml:ro
    logging:
       driver: "json-file"
       options:
         max-size: "10m"
         max-file: "3"
EOF
(2) Create the frpc configuration file.
cat > frpc.toml <<EOF
# VPS public address and port, Auth token
serverAddr = "1.2.3.4"
serverPort = 7000
auth.token = "your-token"

# Define proxy rule
[[proxies]]
name = "openclaw-http"
type = "http"
localIP = "127.0.0.1"      # Local private IP address
localPort = 3001           # OpenClaw port
customDomains = ["ai.yourdomain.com"]   # Domain defined in Nginx
EOF
(3) Start the service
# Start
docker compose up -d

# Check the log
docker compose logs -f

# Check running status
docker compose ps
If no error messages appeared during any of the steps, you can now open your browser and visit https://ai.yourdomain.com; you should see the OpenClaw web interface. With this, you have successfully completed the transformation from a “public cloud tenant” to a “private AI landlord.”
Now, even while riding the subway, you can access your home-based “AI Command Center” via your mobile phone, directing “OpenClaw” to help you summarize meeting minutes, debug code, and carry out your every command. And as you gaze at your bill, seeing a “Token Consumption” total of “0.00,” that profound sense of control surely feels far more reassuring than the sting of a “surprise bill assassin.”